
Monday, July 2, 2012
Design Wall Monday: Route 66
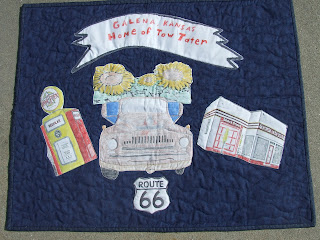
This is my Route 66 quilt. It's a small wall hanging that was entered for a challenge and traveling exhibit. I found out a few days ago it was selected. I'm so excited. It will be traveling for three years and then if they can find a permanent place for it it will stay there. YAY! I just have to finish sewing down the label and hanging sleeve.

Monday, June 4, 2012
Finally finished

 |
| This is the entrance to the run. |
 |
| This is the front and nest box side. Those are eggs painted on the lid. |
 |
| My kids painted a yoshi egg, chicken nuggets and a drumstick on the side of the nest box. |
 |
| The kids are loving the chickens. |
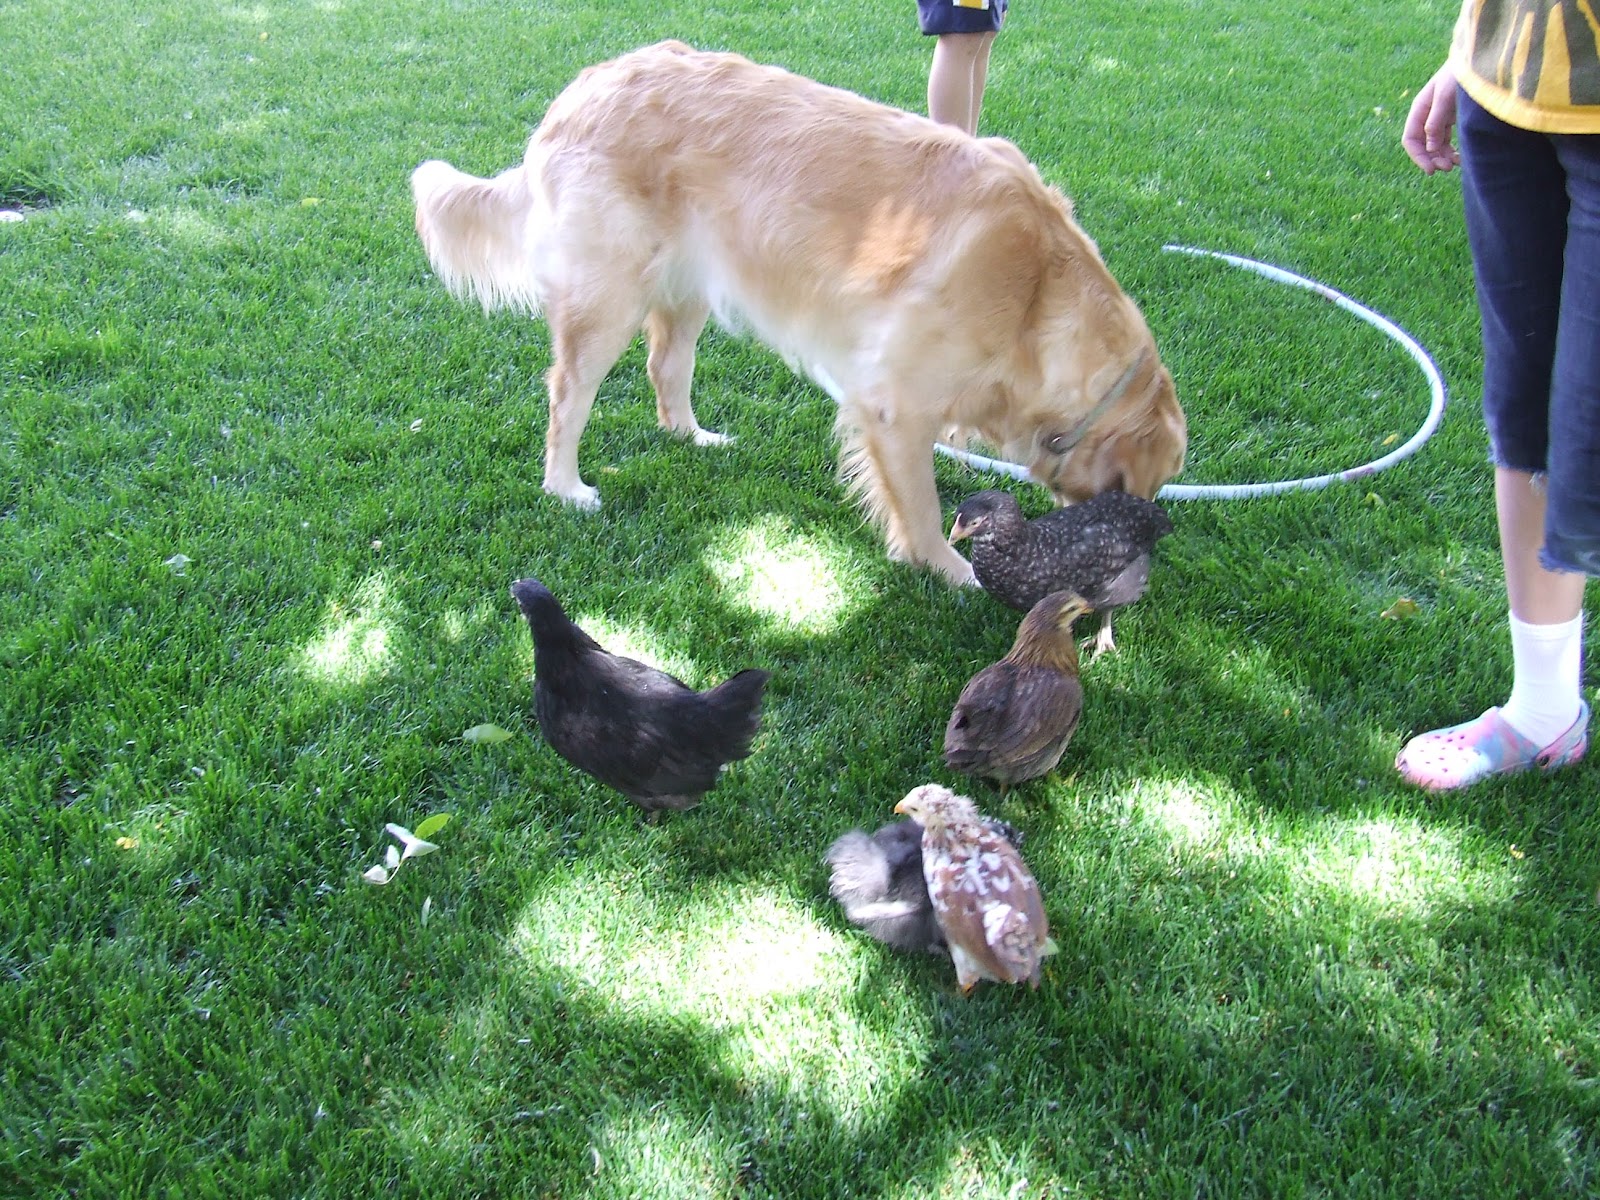 |
| And so does Lucy. She is very good with them. They have gotten so big and are only six weeks old. |
Sunday, June 3, 2012
Another weekend of coop building and my design wall
 |
| This is the start of the nest box |
 |
| The front has been added |
 |
| And the divider |
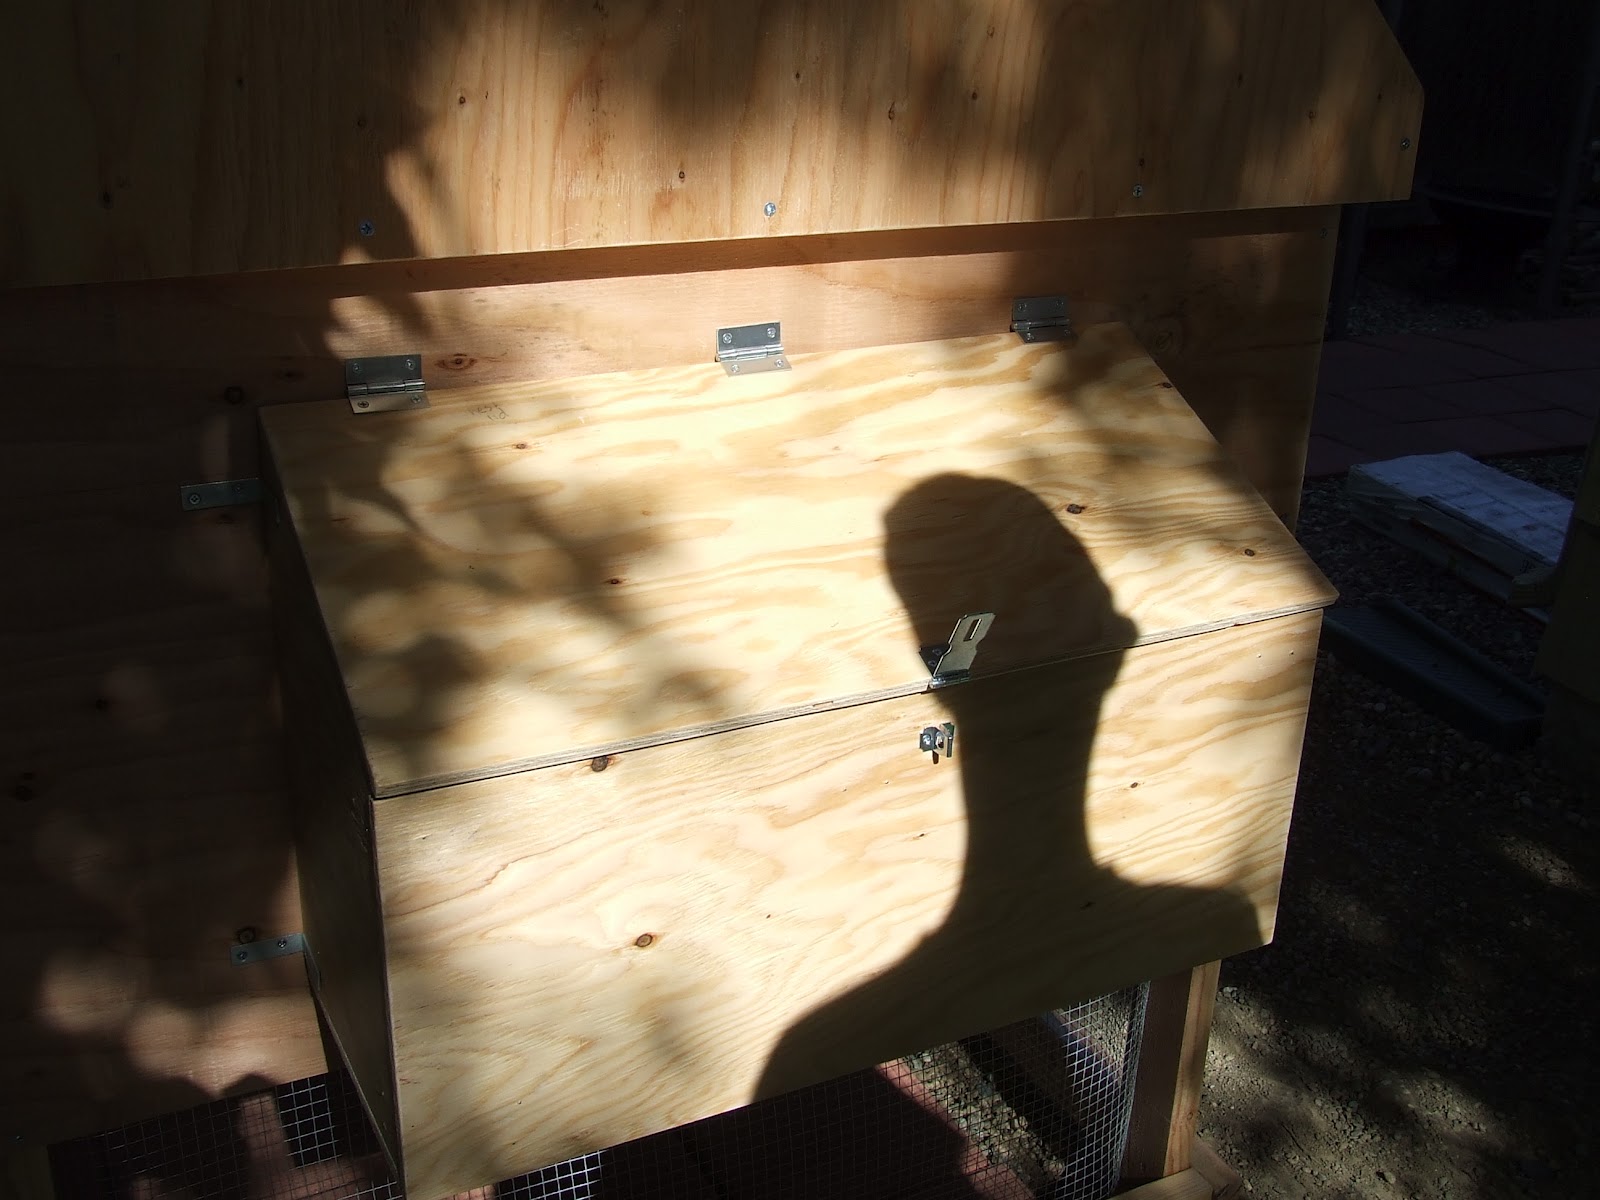 |
| Finally the lid. |
 |
| We had to hammer the tips of the screws because they were a smidge to long |
 |
| This is the inner coop door |
 |
| We have doors to the run that we made. I was relieved that we had just enough of the hardware cloth. |
 |
| This is our ramp up into the coop. We haven't put it on yet. That will be the very last thing. |
 |
| We also made a window to close during the winter so it will keep the heat in. |
 |
| My kiddo and her dog. She is writing a story. |
 |
| Here are the run doors installed. |
 |
| It has a roof! |
 |
| This is the fixed doors. We added flat panels on the sides of the door and put on flat brackets. Can you tell I am a bit paranoid about something getting in? |
 |
| The asphalt paper for the roof. |
 |
| And the tiles. These went on a whole lot better and easier than we thought they would. We also got these for free. We were on a walk and saw some people working on a roof and asked what they were doing with their old tiles. The guy had two packs of these tiles that were the wrong color and her gave them to us. |
 | |
| Beginning the painting. The chicks should be outside in the next few days. |

 |
| This is my design wall piece. I am working on a Challenge Quilt. |
Sunday, May 27, 2012
My last two days

I am so exhausted and I think my husband, Mike is too. We spent the last two days working on our chicken coop. Last time we were only able to get a small rectangular frame finished but we got a lot more done this time. This post is very picture heavy and I will tell my story through the captions.
 |
| My son sitting in the frame. We had the frame done before and at the start of the day yesterday we got the six legs up. |
 |
| Then we added the coop supports. We had to use flat brackets for part of it. |
 |
| Henrietta is checking out the new digs. |
 |
| We added the top frame. |
 |
| Here is the side view of it. |
 |
| We added hardware cloth to under the coop before added the floor. Much easier to get under that way. |
 |
| Mike is added notches for the floor to sit flush. |
 |
| Here are the notches. |
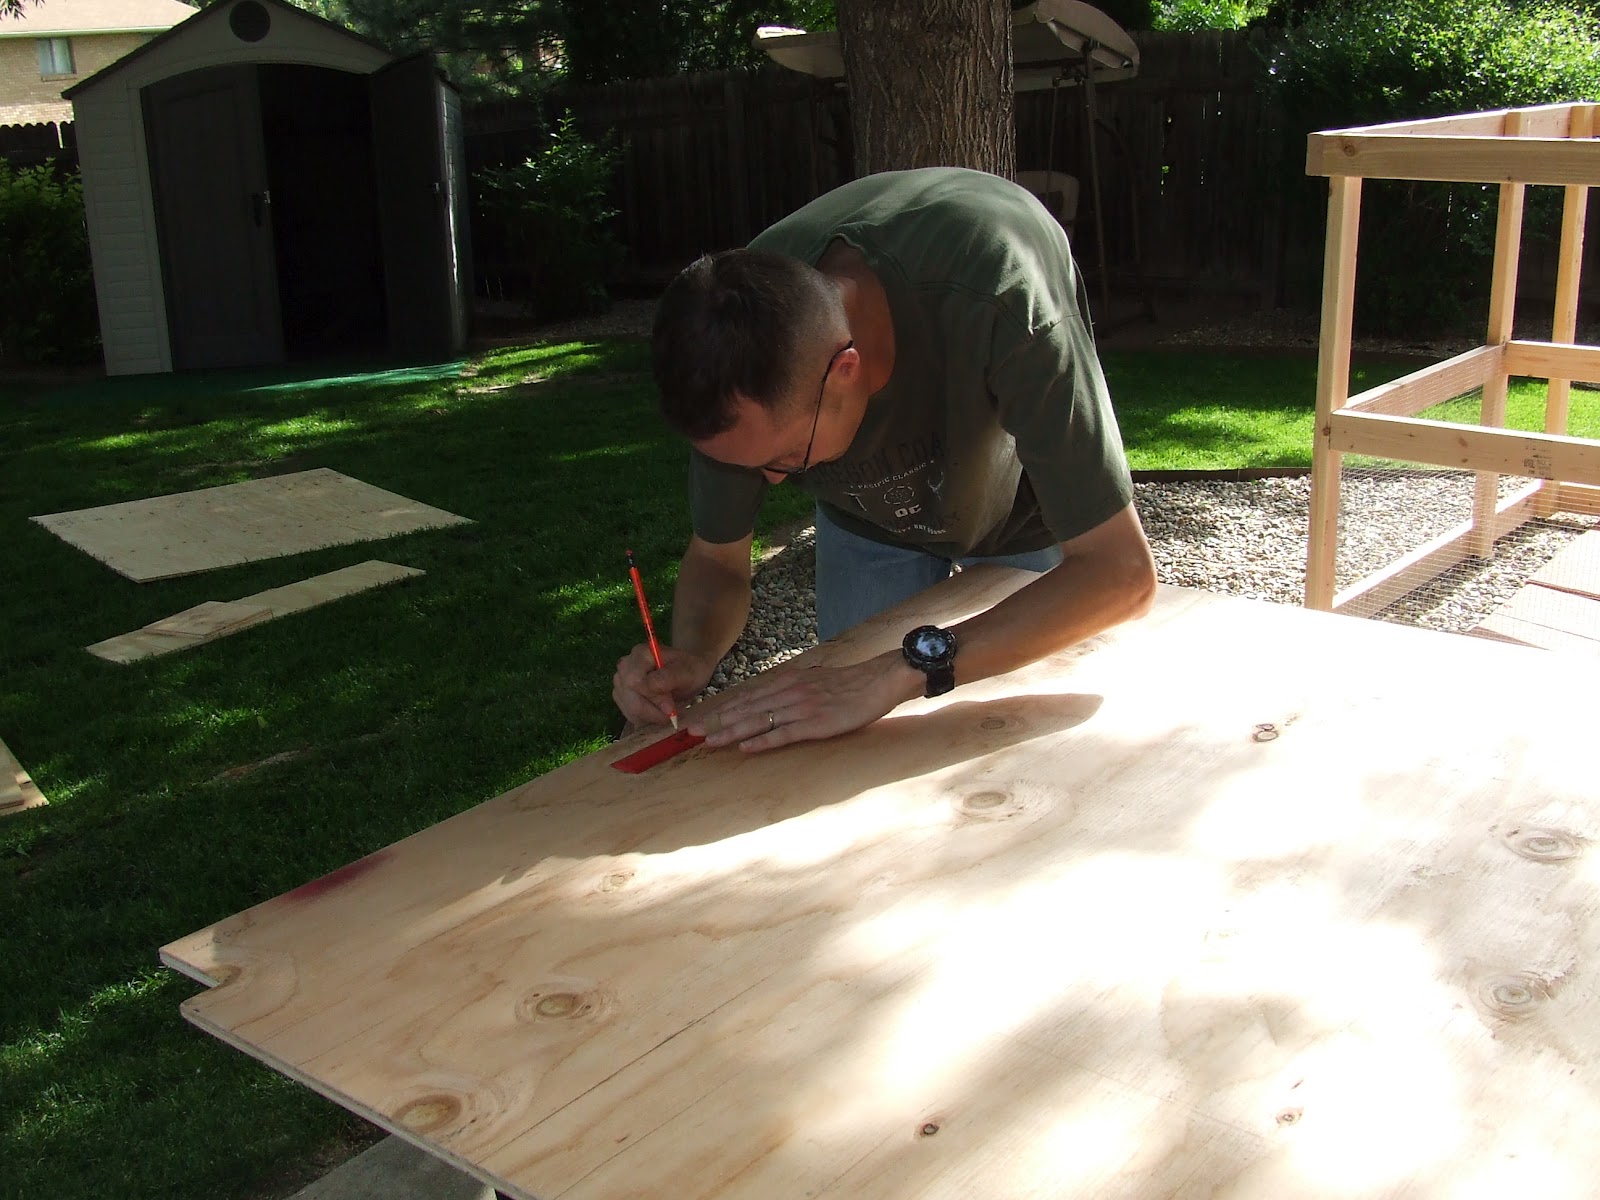 |
| He had to cut again. We had measured the floor too big. Oops. |
 |
| The floor is finally in. |
 |
| Mike is cutting the wood for the roost supports. |
 |
| All of our pieces of wood. We had Lowes cut all of the wood for us. All we had to do was cut all of the angles (and fix our measurement mistake) |
 |
| Here are the roosts. They stretch the whole width of the coop. About 4 feet. |
 |
| We made sure to sand all of the edges. Lost of splinters. |
 |
| Mike is adding the wall where the nest box will go. |
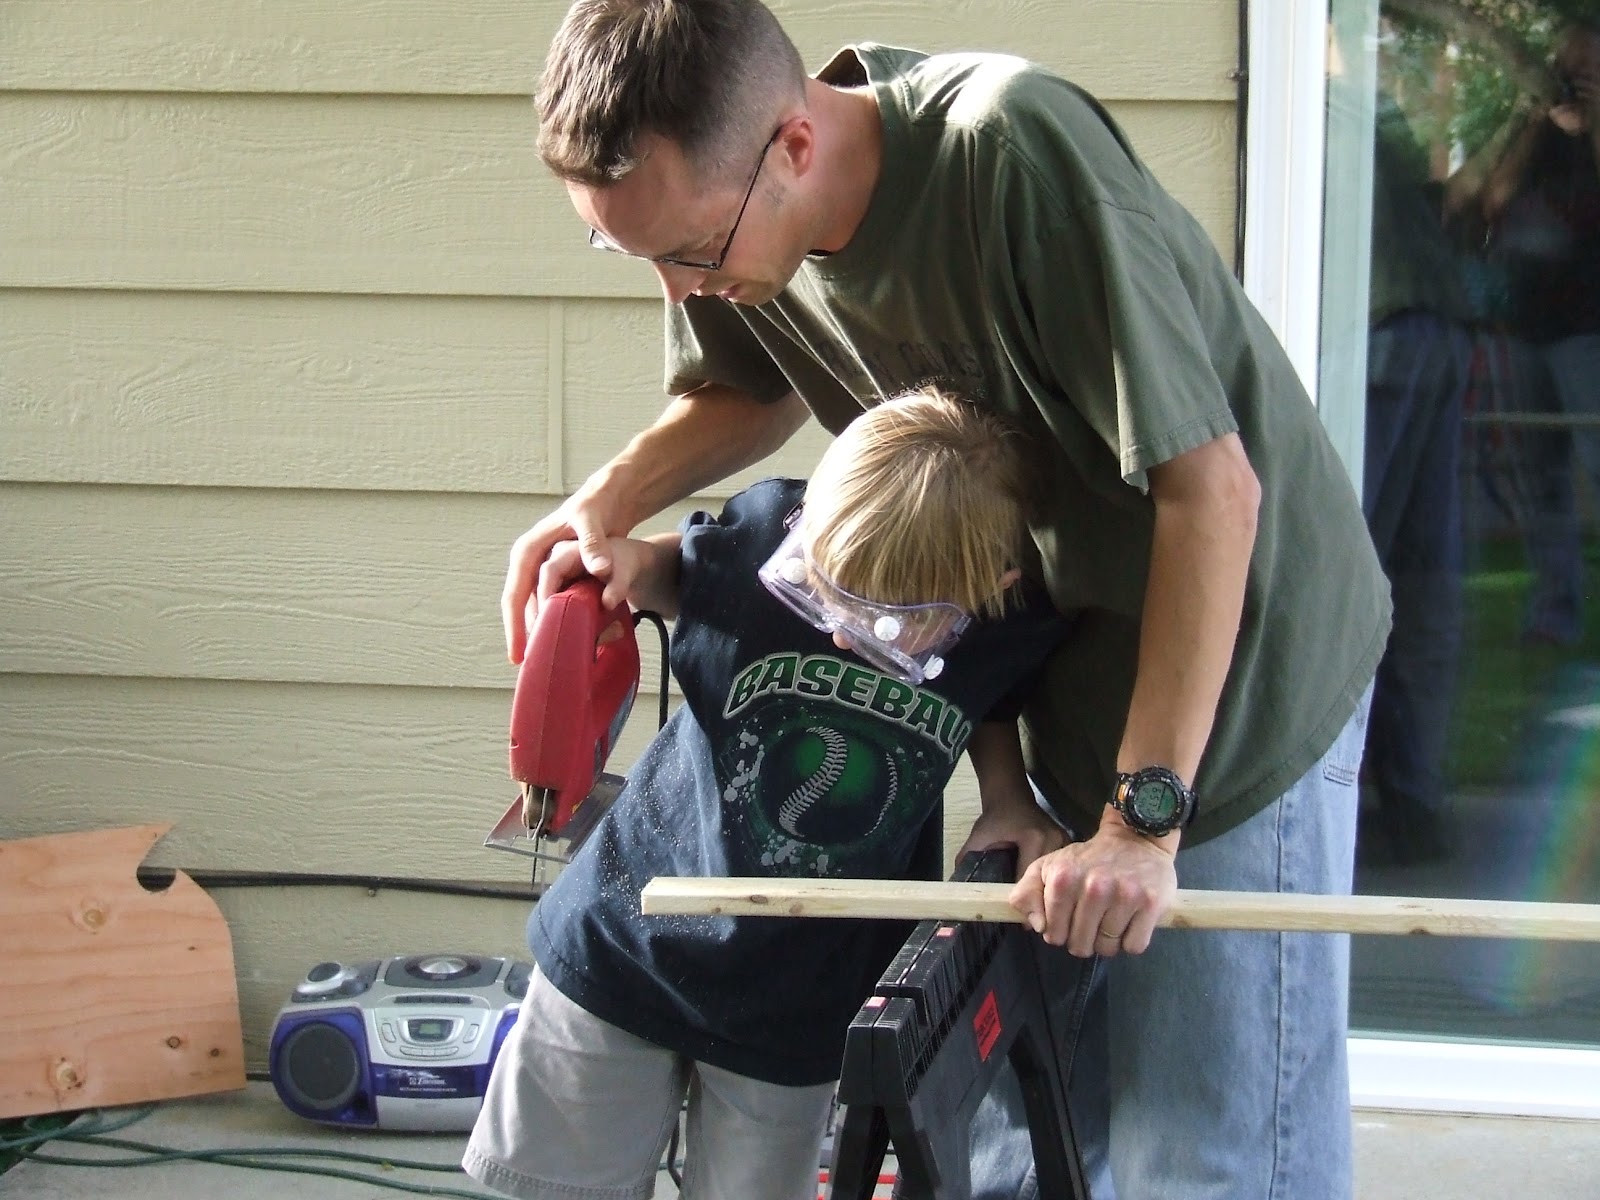 |
| My son got to help cut the door stops. |
 |
| Here is the door stop for the coop doors. |
 |
| And the stops for the run doors. |
 |
| These are the boards for the roof trusses |
 |
| We had to get the angles just right. |
 |
| They went on nicely. |
 |
| The Angle brackets really helped. |
 |
| We needed to cut a window for one side. |
 |
| And add hardware cloth. There will be a plexiglass window over this, that we can open and let the fresh air in. |
 |
| We added the large side panel. It has a vent hole and a door hole. We will add a door we can close at night. |
 |
| Here is the side with the window mesh. |
 |
| Make sure to charge your drill when you are doing a big project. |
 |
| More mesh over the vent hole. |
 |
| Here is one of the coop doors. |
 |
| These are the doors attached. We actually need to figure something else out, because the doors stick out and don't close properly. |
 | |||
| And the last thing, was putting on the final roof panel. |

Subscribe to:
Posts (Atom)